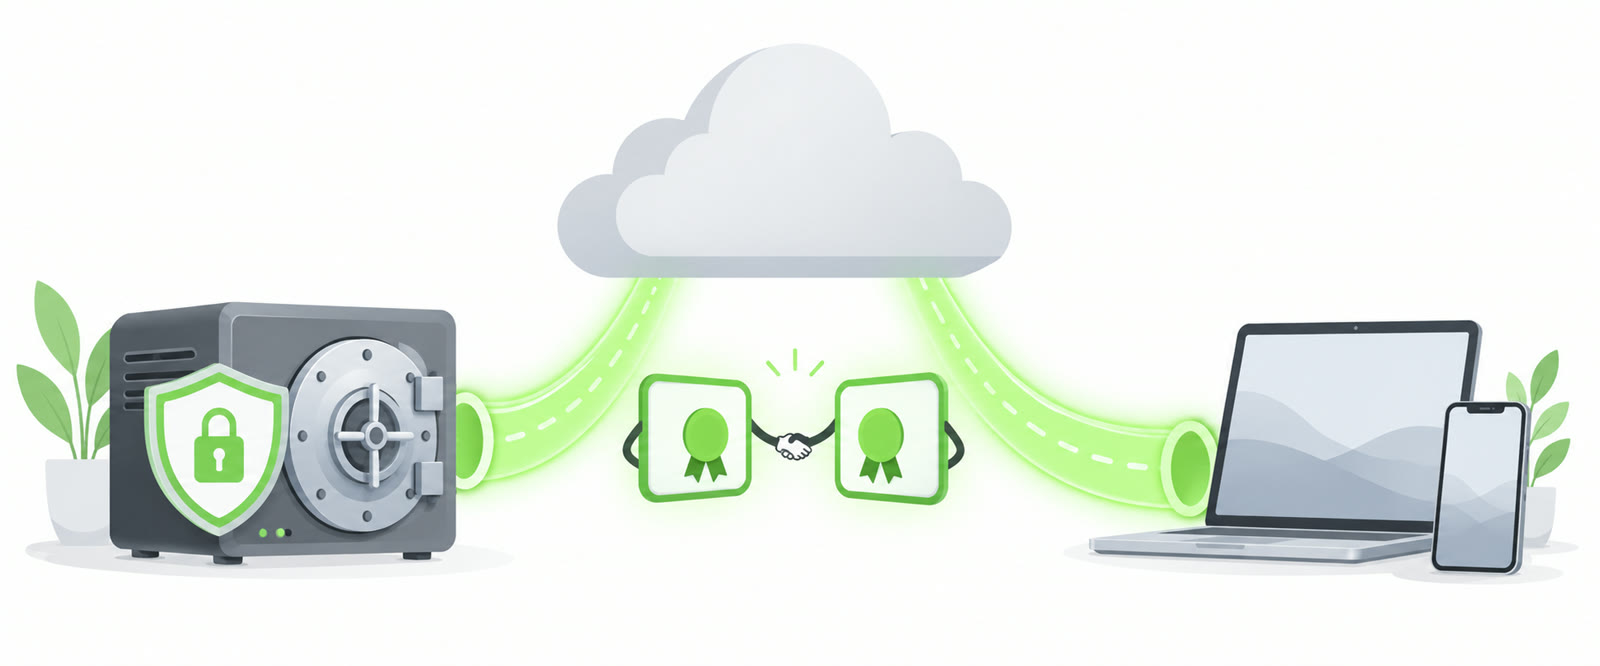
I was using tailscale + vaultwarden before but I don’t want to use a VPN connection to access my passwords. But I do want a client certificate for extra security.
So I write this to guide to exposing Vaultwarden securely via Cloudflare Tunnel, protected by mutual TLS (mTLS) client certificates. No open ports required.
Please note: it looks like iOS bitwarden app don’t have the option to import a mtls certificate.
Why this setup?
- No open ports on your router
- Cloudflare terminates TLS — no certificate management on your end
- mTLS ensures only devices with a valid client certificate can reach Vaultwarden
- The Bitwarden Android app supports client certificates natively since v2025.2.0
Prerequisites
- A Synology NAS with Container Manager
- A domain managed by Cloudflare (e.g.
example.com) - Vaultwarden already running in Docker
1. Vaultwarden configuration
Make sure your Vaultwarden container has these environment variables set:
DOMAIN=https://vault.example.com
SIGNUPS_ALLOWED=false
EXPERIMENTAL_CLIENT_FEATURE_FLAGS=mutual-tls
The mutual-tls feature flag tells the Bitwarden Android app to show the client certificate option in settings.
Verify it’s active:
curl https://vault.example.com/api/config | grep mutual
You should see "mutual-tls":true in the response.
2. Cloudflare Tunnel setup
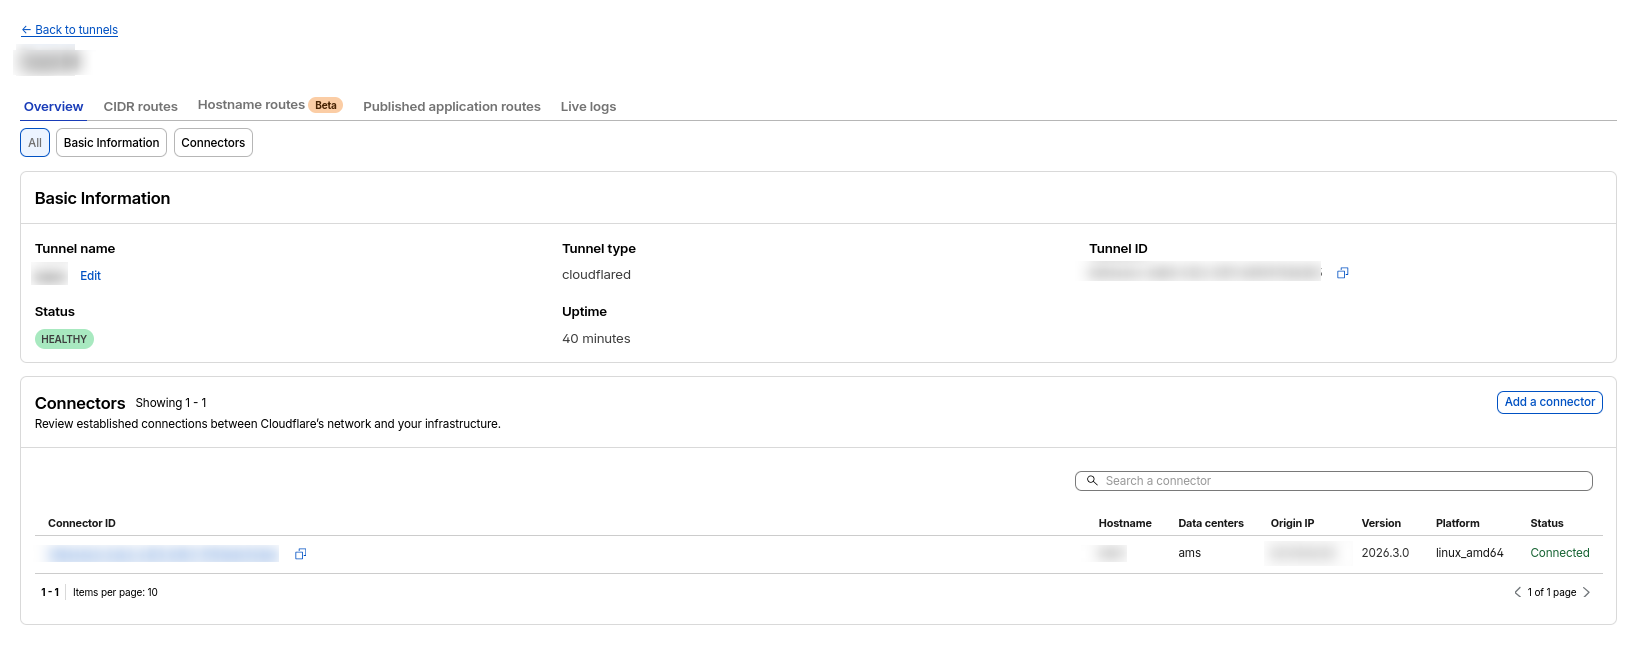
Create the tunnel
- Go to Cloudflare Zero Trust → Networks → Tunnels
- Click Create tunnel → choose Cloudflared
- Give it a name and copy the tunnel token
Run cloudflared on Synology
Create /volume1/docker/compose/cloudflared/docker-compose.yml:
services:
  cloudflared:
    image: cloudflare/cloudflared:latest
    container_name: cloudflared
    restart: unless-stopped
    network_mode: host
    command: tunnel --no-autoupdate run --token YOUR_TUNNEL_TOKEN
cd /volume1/docker/compose/cloudflared
docker compose up -d
network_mode: host allows cloudflared to reach Vaultwarden via localhost:5151.
Configure the public hostname
In the Cloudflare dashboard, under your tunnel → Public Hostnames:
FieldValueSubdomainvaultDomainexample.comTypeHTTPURLlocalhost:5151
3. mTLS client certificate
Enable mTLS for your hostname
- Cloudflare dashboard → your domain → SSL/TLS → Client Certificates
- Under Hosts, add
vault.example.com - Click Create Certificate → set validity (10 years recommended)
- Download the certificate and private key
Generate a .p12 file
openssl pkcs12 -export \
  -out vault-client.p12 \
  -inkey client.key \
  -in client.crt
Set a password when prompted — you’ll need it when importing on your devices.
Create the WAF rule
- Cloudflare dashboard → your domain → Security → Security rules → Custom rules
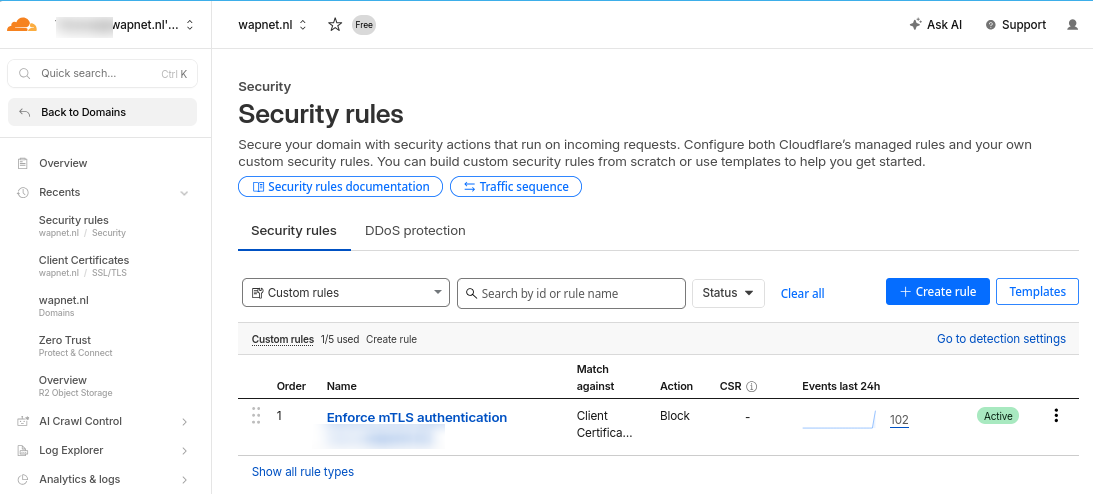
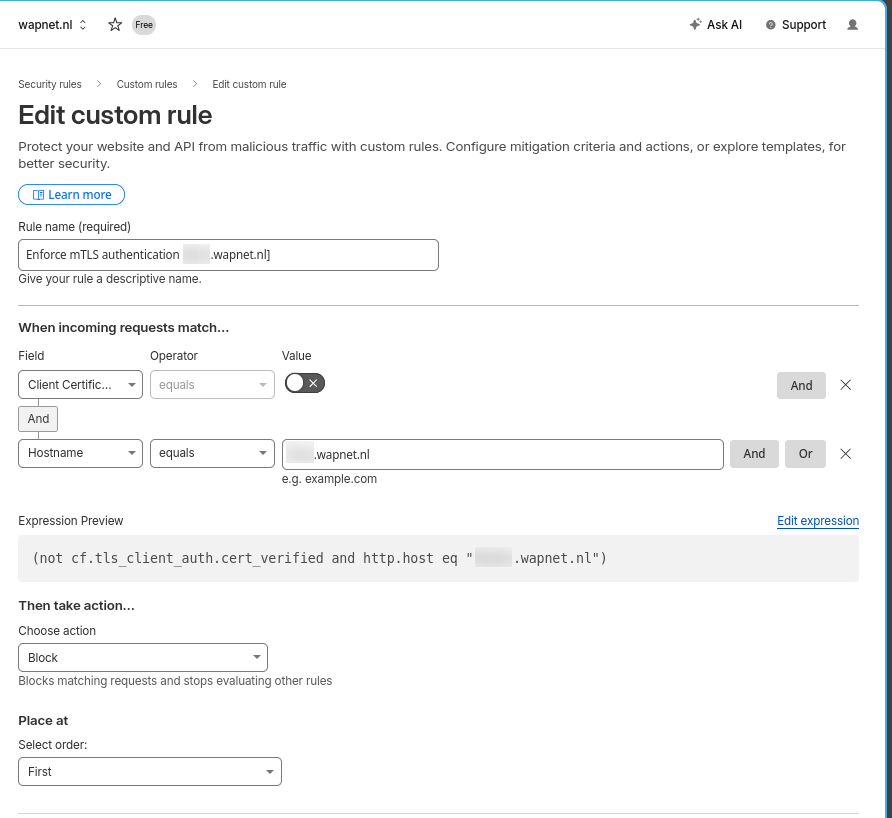
- Click Create rule
- Click Edit expression and paste:
(not cf.tls_client_auth.cert_verified and http.host eq "vault.example.com")
- Action: Block
- Click Deploy
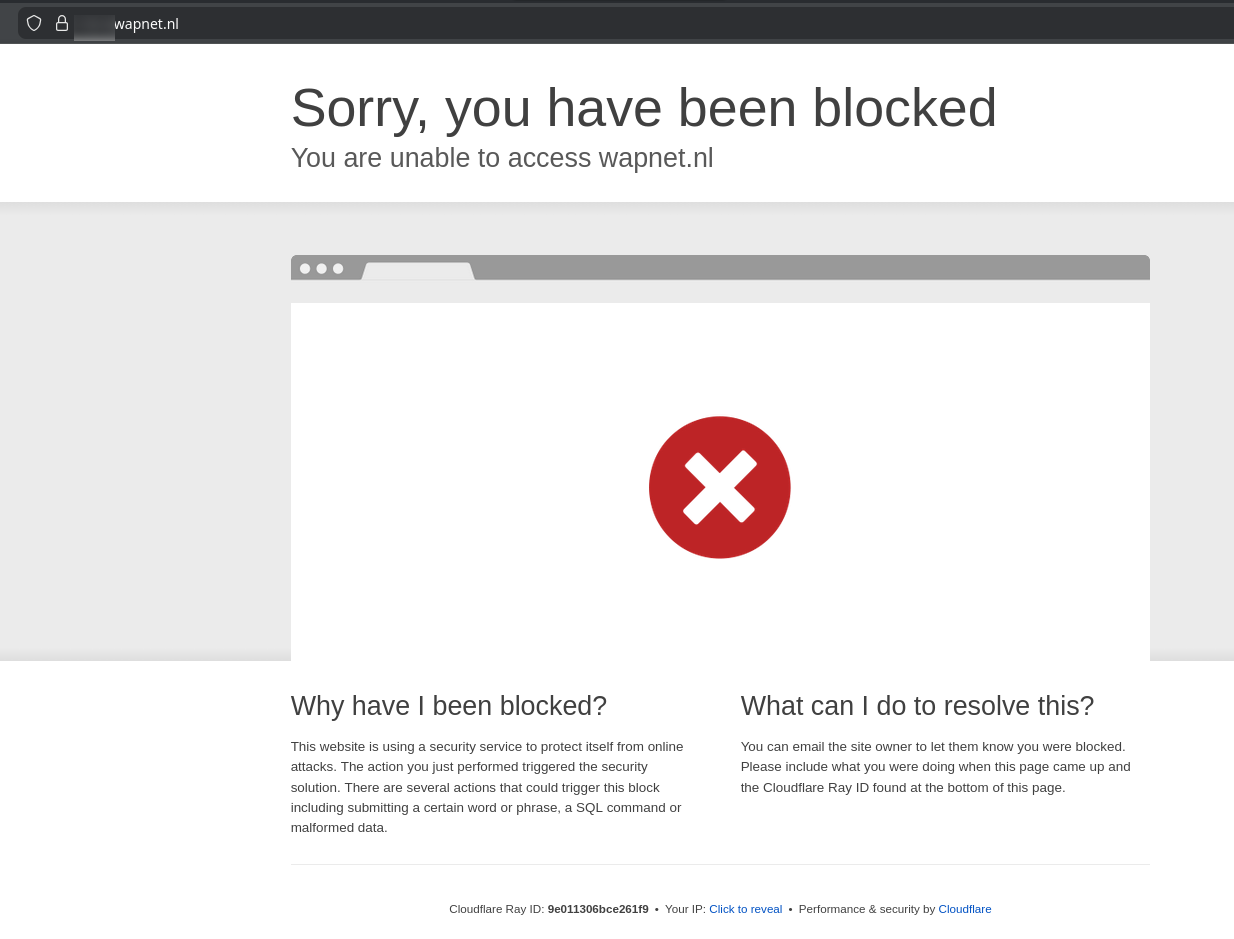
This blocks all requests without a valid client certificate before they reach Vaultwarden.
When you try to access the URL you get a nice big red cross :)
Change the cache setting
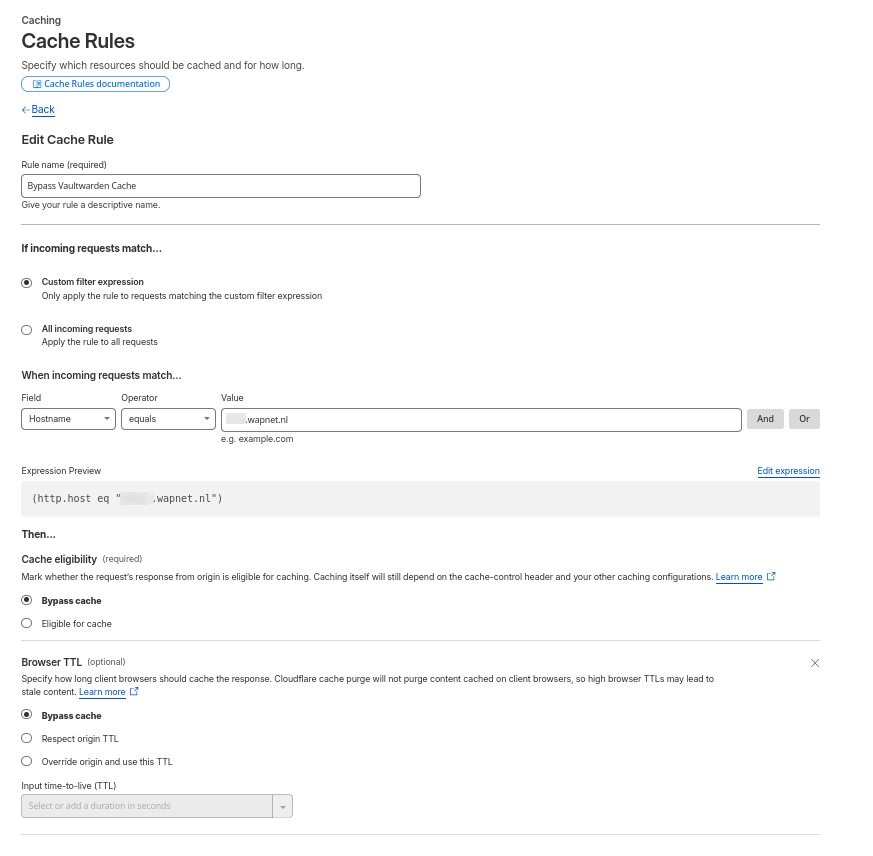
I’ll get a lot of 403 issues because of the caching. You can disable/bypass the cache in cloudflare:
4. Install the certificate
Firefox (Linux/Windows)
- Open
about:preferences#privacy - Scroll to Certificates → View Certificates
- Tab Your Certificates → Import
- Select
vault-client.p12and enter your password
Firefox will automatically present the certificate when connecting to vault.example.com.
and then… :)
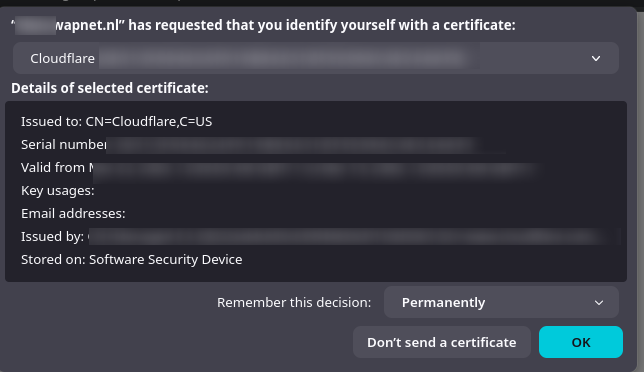
Select Automatically
If you use Firefox best is to change the security.default_personal_cert setting in the about:config to Select Automatically

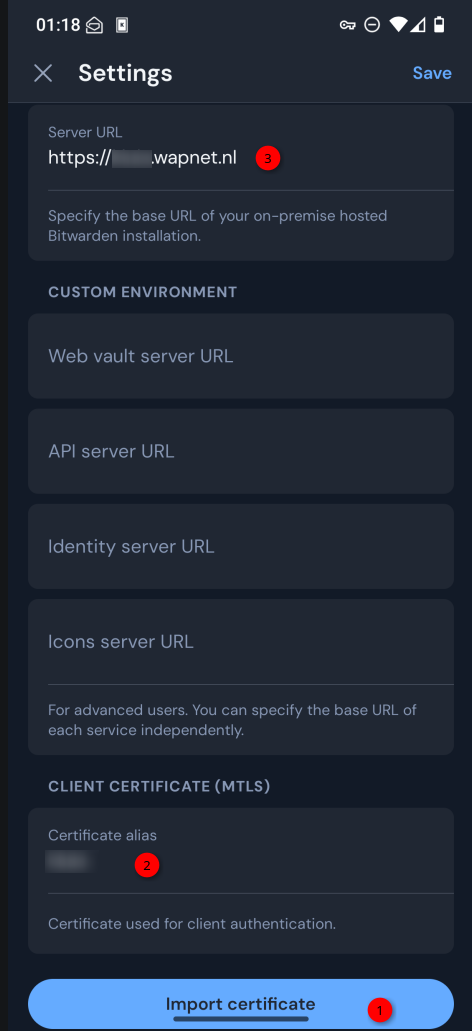
Bitwarden Android app
- Transfer
vault-client.p12to your phone - Open the Bitwarden app → tap the server URL field → Custom
- Set Web vault server URL to
https://vault.example.com - Scroll to CLIENT CERTIFICATE (MTLS)
- Tap Import certificate → select
vault-client.p12→ enter password - Tap Save
5. Verify
Open https://vault.example.com in Firefox — you should be prompted to select your certificate. After confirming, the Vaultwarden login page loads.
Without a certificate, or with an invalid one, Cloudflare returns HTTP 403 before the request ever reaches your server.
Notes
- Generate a separate
.p12per device so you can revoke individual certificates if needed - The Cloudflare free plan supports mTLS with up to 5 custom rules
- Vaultwarden data is end-to-end encrypted by the Bitwarden client — Cloudflare only sees encrypted vault traffic
- Keep your Vaultwarden container updated; use Watchtower or a scheduled pull for automatic updates